
Instructions
The best way to learn After Effects is to use it!
To get the most out of the AE Fundamentals lessons, watch the video 👀, then do the corresponding exercise ✍️.
The video lessons don't tell you exactly, step-by-step how to complete the exercises. That’s by design. Research shows that when learners are challenged, they retain info better.
Keep in mind, there are often multiple ways to achieve similar results–that’s the beauty of After Effects.
Once you’ve completed the exercise, or if you get stuck, you can open up my completed .aep project file to learn how I did it.
Happy animating!
Jump to topic on this page:
👀 Get Started
✍️ Create a new After Effects project and a new composition with these settings:
Composition Name: Block 1
Width: 500 px
Height: 500 px
Pixel Aspect Ratio: Square Pixels
Frame Rate: 30 frames per second
Start Timecode: 0:00:00:00
Duration: 4 seconds
Background Color: White
👀 Import Files
✍️ Import AE_Fundamentals_design.png
Okay, this one's a little silly, but if you want to practice importing a file, go right ahead!
Since the file I provided is a single.png file, you can't access all of the different elements that make up the artwork. To do that, you'd either want to have each element in it's own .png file, or import the artwork as an Illustrator (.ai) or Photoshop file (.psd). You'll learn more about working with Illustrator files in an upcoming lesson.
💡
Tip: To create a composition with a file inside, in the Project panel, drag the file onto the New Composition button.
💡
Tip: Double click the Shape Tool (in the top toolbar) to create shape that fills the composition. You can create a background color this way too.
✍️ Block 2
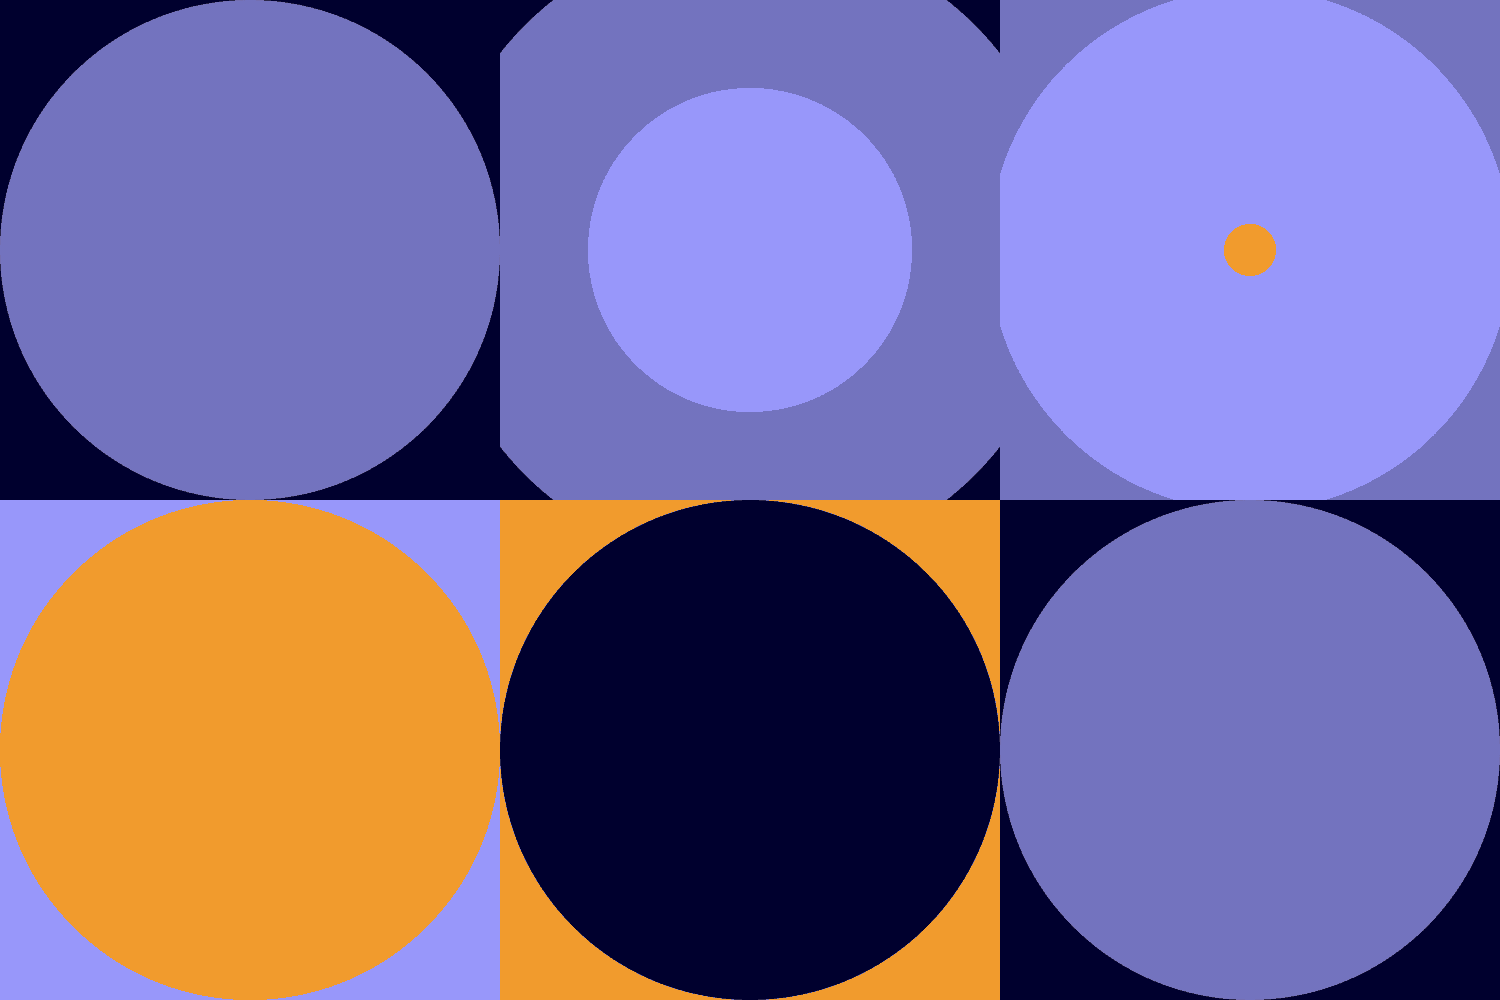
Create another new composition with the same settings as "Block 1" but this time name it "Block 2"
Recreate this animation:
⚡
As you go through these exercises, feel free to come up with additional animation blocks. The blocks will be put together at the end.
👀 Shape Layers
✍️ Block 4
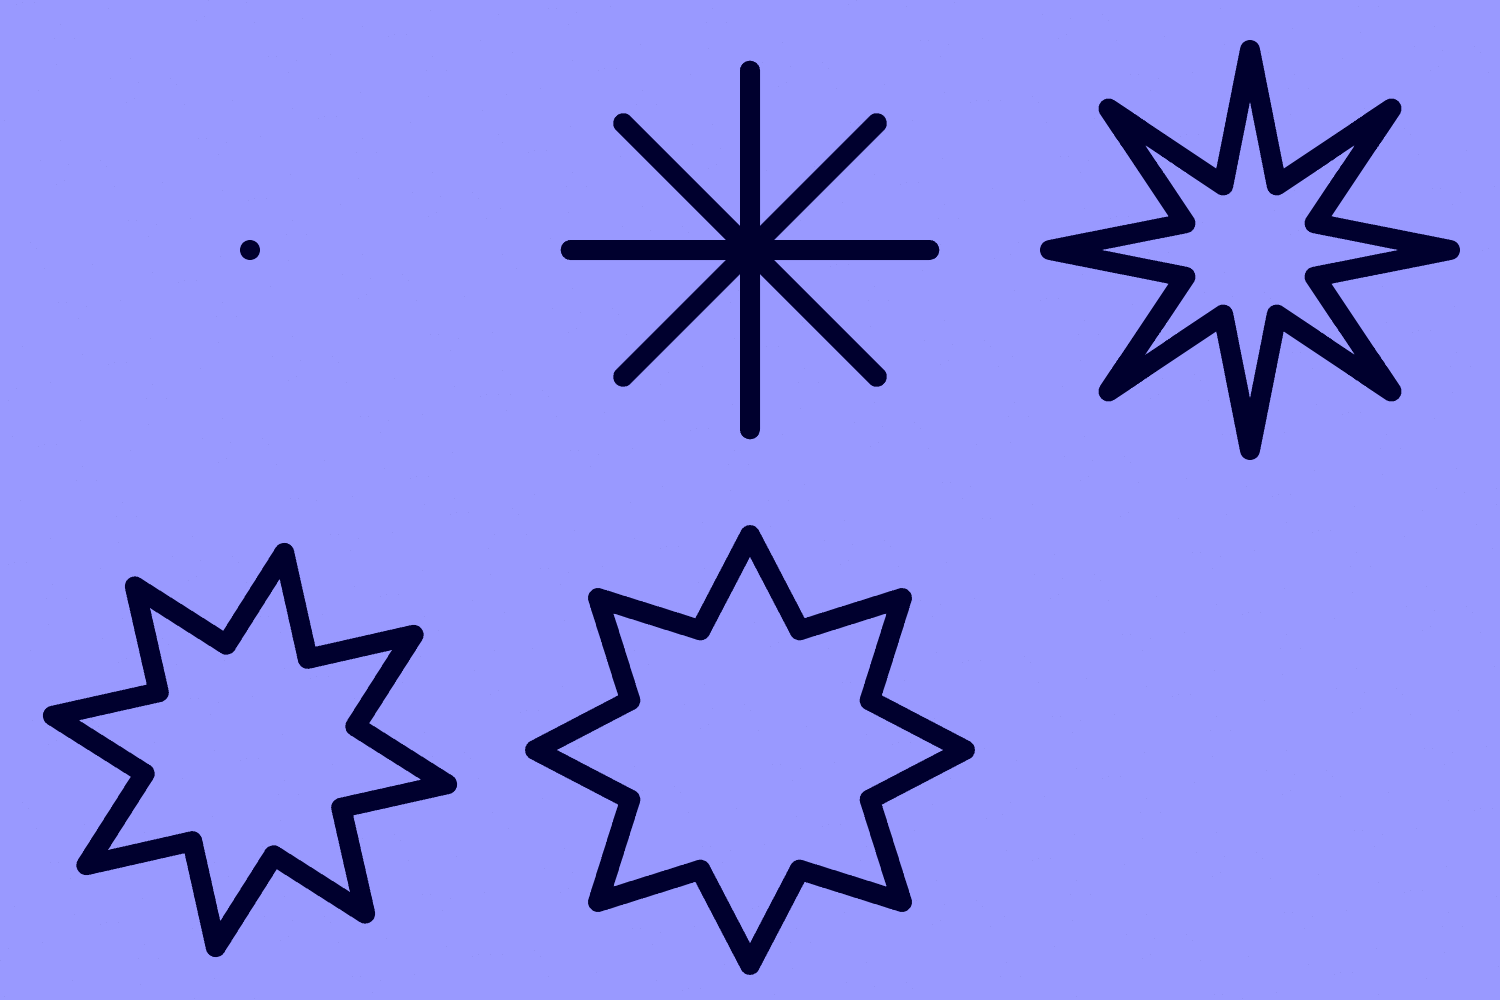
Create another new composition called "Block 4".
Recreate this animation:
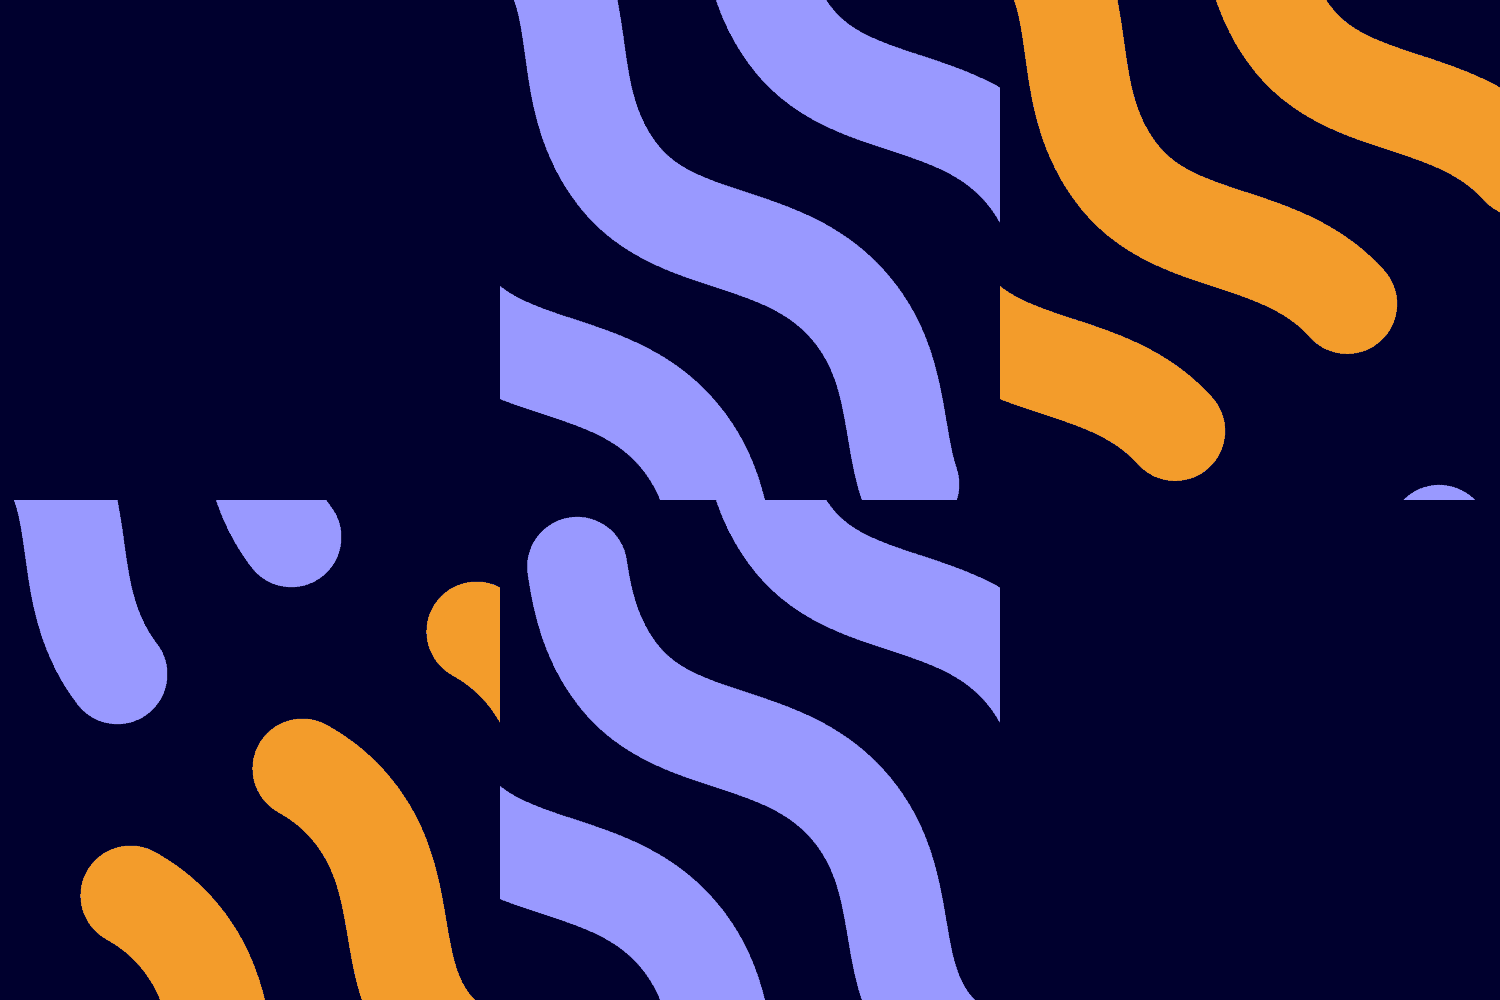
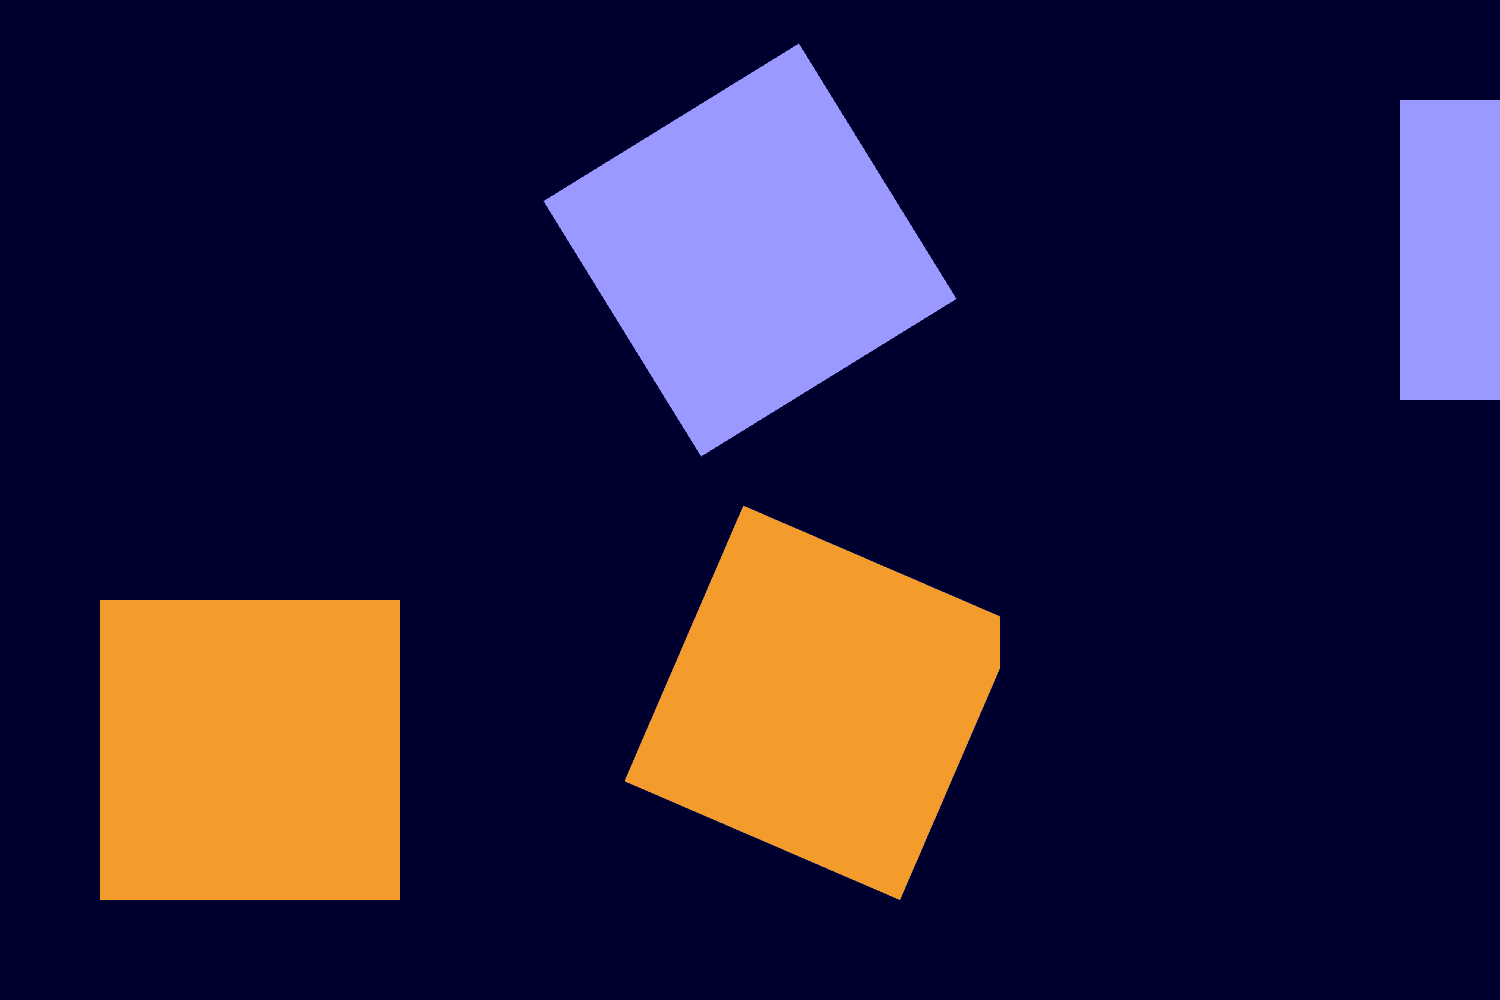
✍️ Block 5
Create another new composition called "Block 5".
Recreate this animation:
💡
Tip: To duplicate a layer, use the keyboard shortcut: ⌘/Ctrl D
🤫
Hint: Two different anchor points (on the same square) are used for this animation.
👀 Parenting
✍️ Block 7
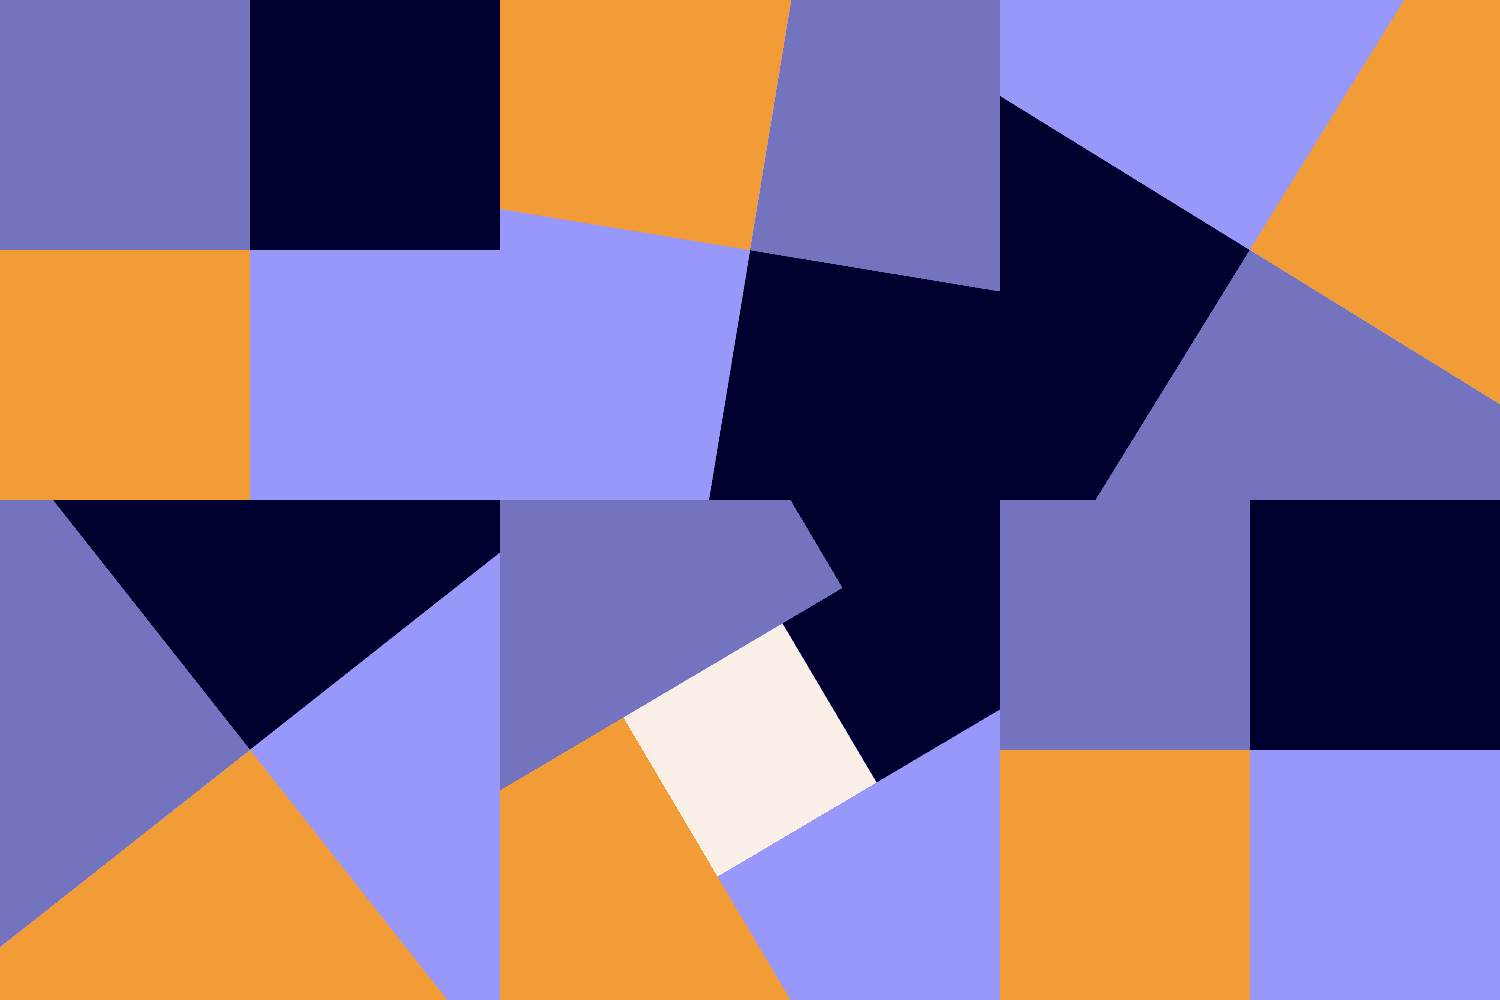
Create another new composition called "Block 7".
Recreate this animation and only set keyframes on two layers:
🤫
Hint: To animate this by only setting keyframes on two layers, one should be a Null.
👀 Working with Adobe Illustrator Files
✍️ Block 8
Import the .ai file called "keyframe icons.ai".
Make sure to choose "Import As: Composition - Retain Layer Sizes".
In the Project panel, you should now see a composition called "keyframe icons" with the artwork from the Illustrator file. Select it, hit the return key, and rename it "Block 8".
Alternatively, you could create a new comp called "Block 8" and drag in the vector layers from the "keyframe icons Layers" folder in the project panel.
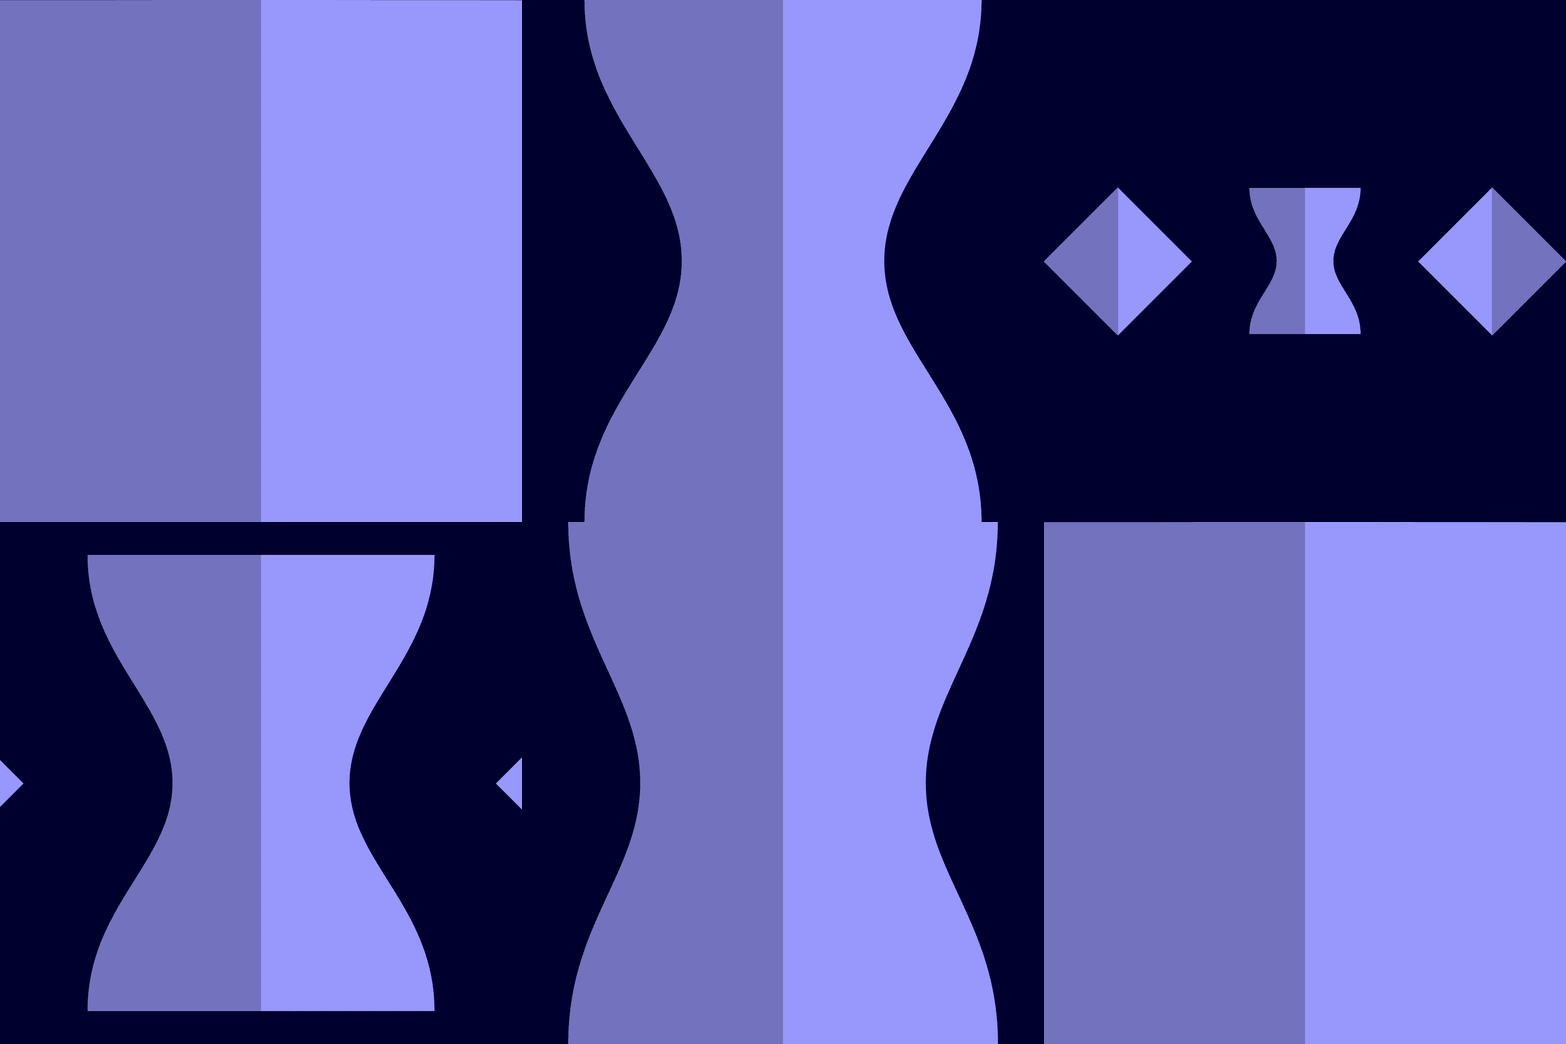
Recreate this animation:
💡
Tip: To make the keyframe artwork not blurry when scaled up, turn on Continuously Rasterize by toggling on the sun icon on the layer.

New to Adobe Illustrator?
Check out the Adobe Illustrator Essentials series to learn all the essential skills motion designers need to know to create illustrations to animate.
Check it out👀 Effects
✍️ Block 9 precomp
Create another new composition called "Block 9 precomp".
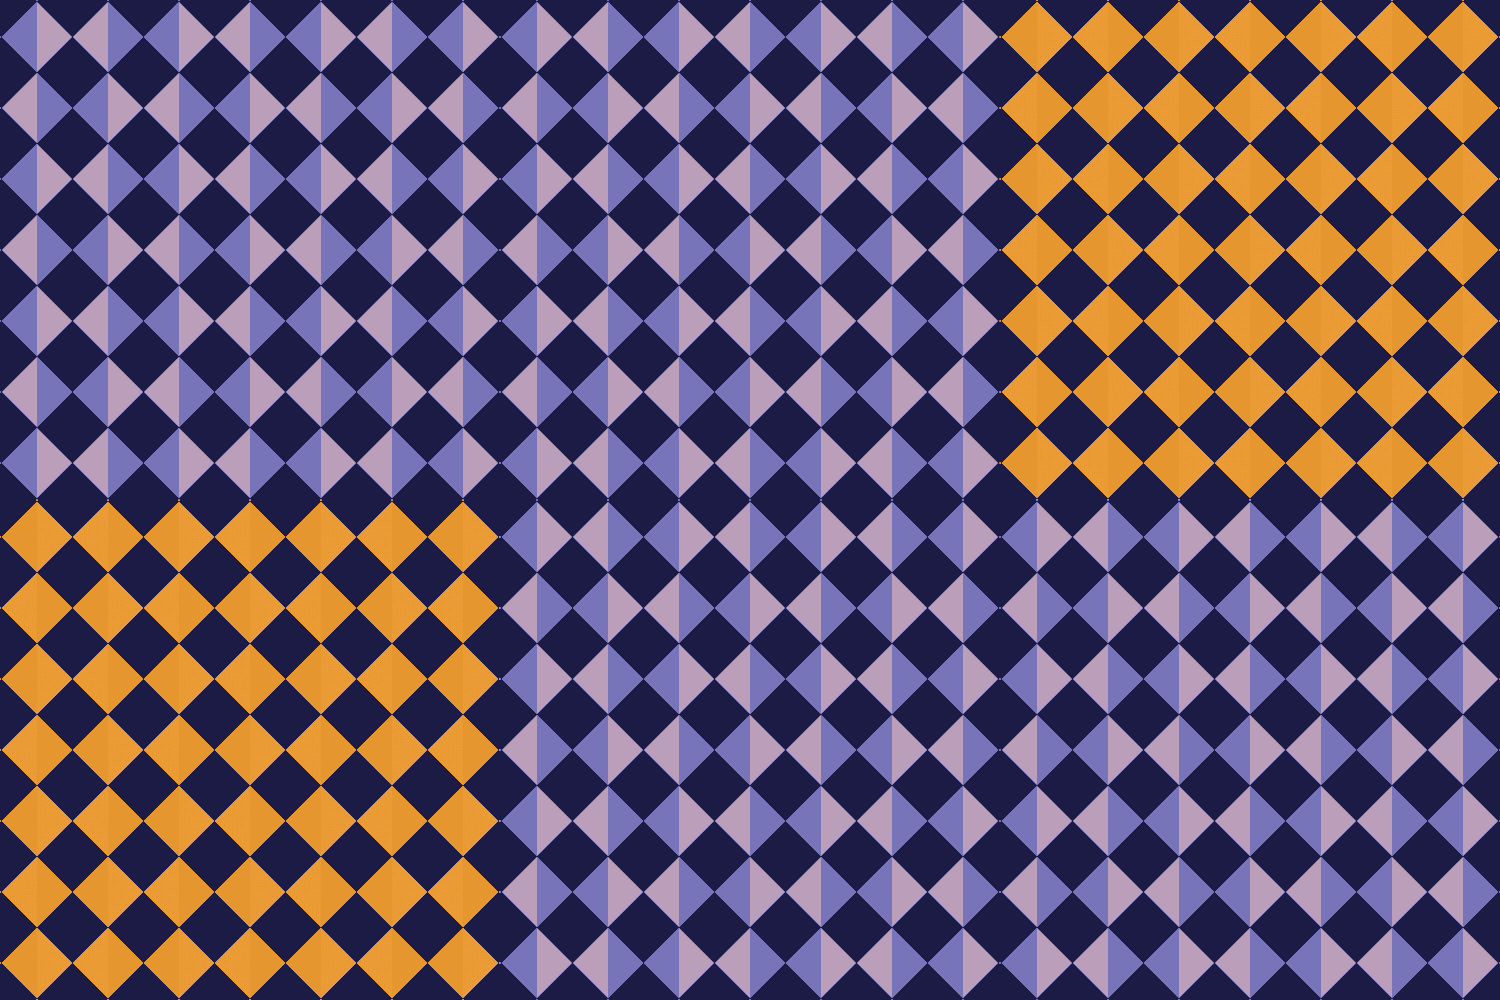
Recreate this animation using the linear keyframe artwork (.ai) imported in the previous exercise:
🤫
Hint: Two different effects are used and there's only one layer (plus the background).
👀 Masks
✍️ Block 9
In the Project panel, drag "Block 9 precomp" onto the new comp button at the bottom of the panel. This creates a new comp with the first comp inside.
Rename this new comp "Block 9".
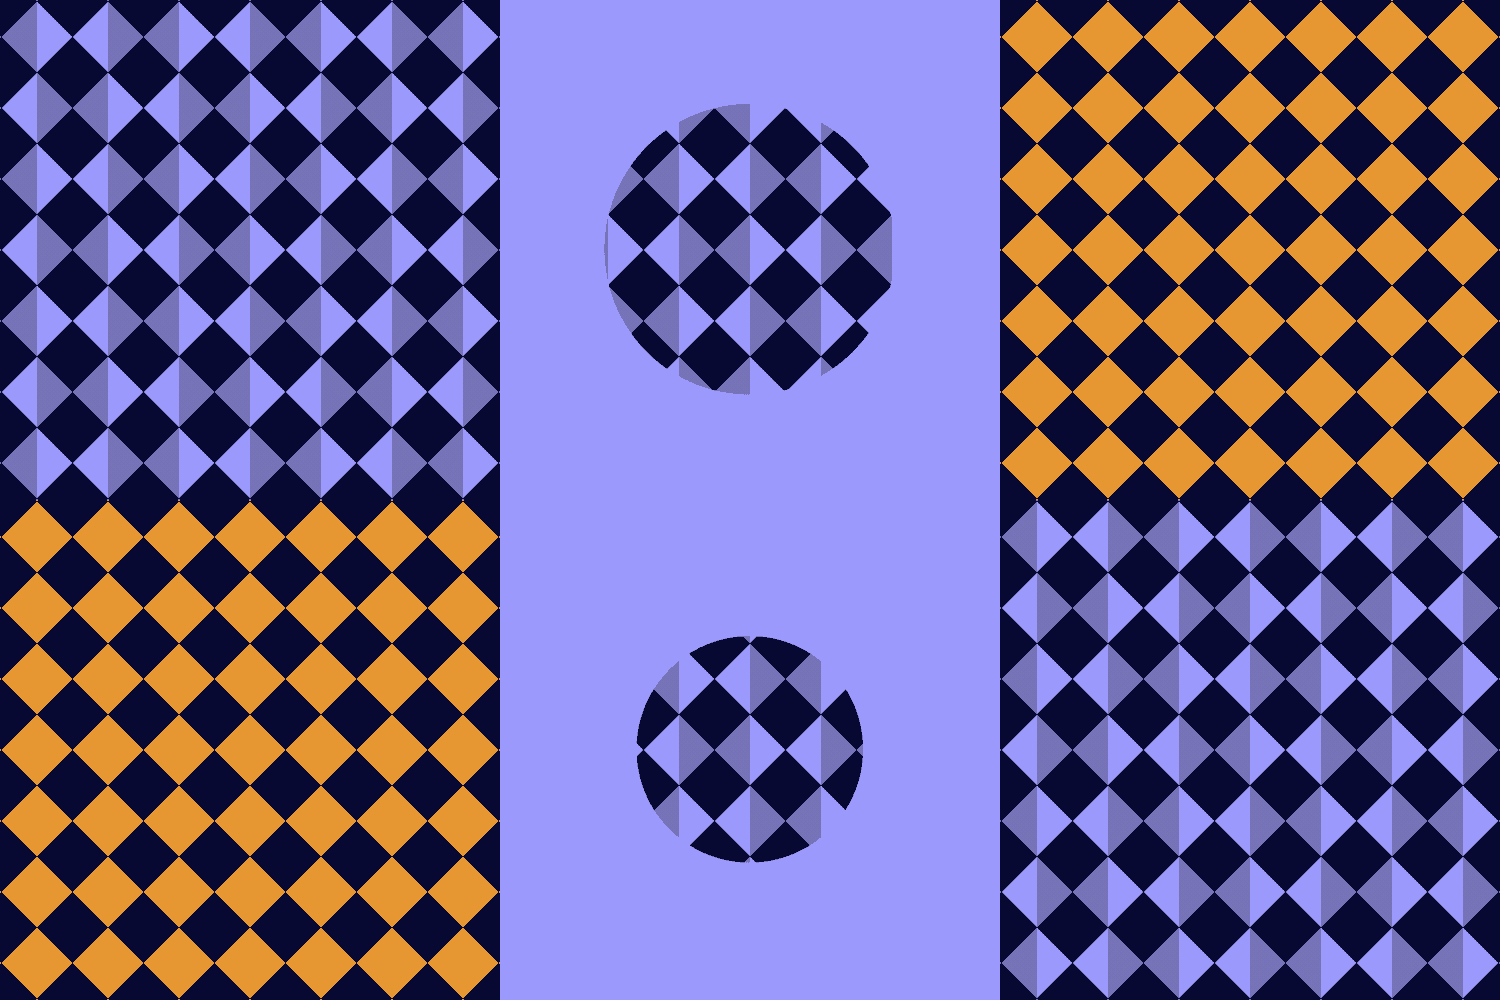
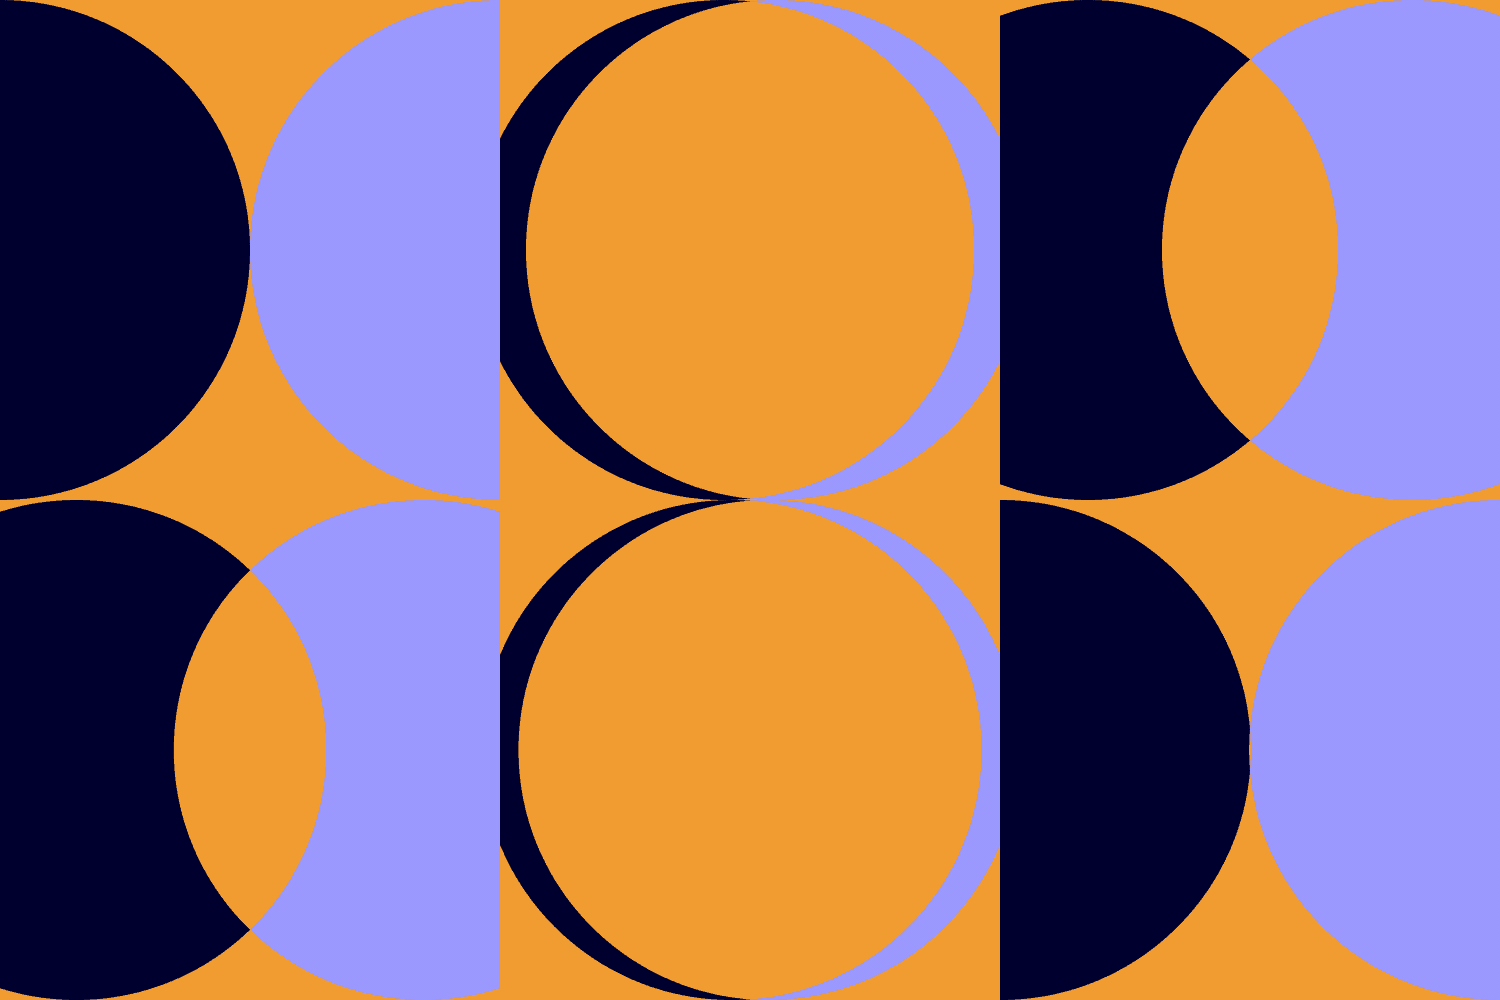
Recreate this animation using a mask on the composition "Block 9 precomp":
✍️ Get Creative & Compile
Feel free to come up with a few more of your own animation blocks!
Then, let's compile all the animation blocks (compositions) into a single composition to render out (aka export).
To do that, create a new composition with these settings:
Composition Name: AE Fundamentals Exercise
Width: 500 px
Height: 500 px
Pixel Aspect Ratio: Square Pixels
Frame Rate: 30 frames per second
Start Timecode: 0:00:00:00
Duration: 4 seconds
Background Color: White
Drag all of your animation block compositions into the AE Fundamentals Exercise composition.
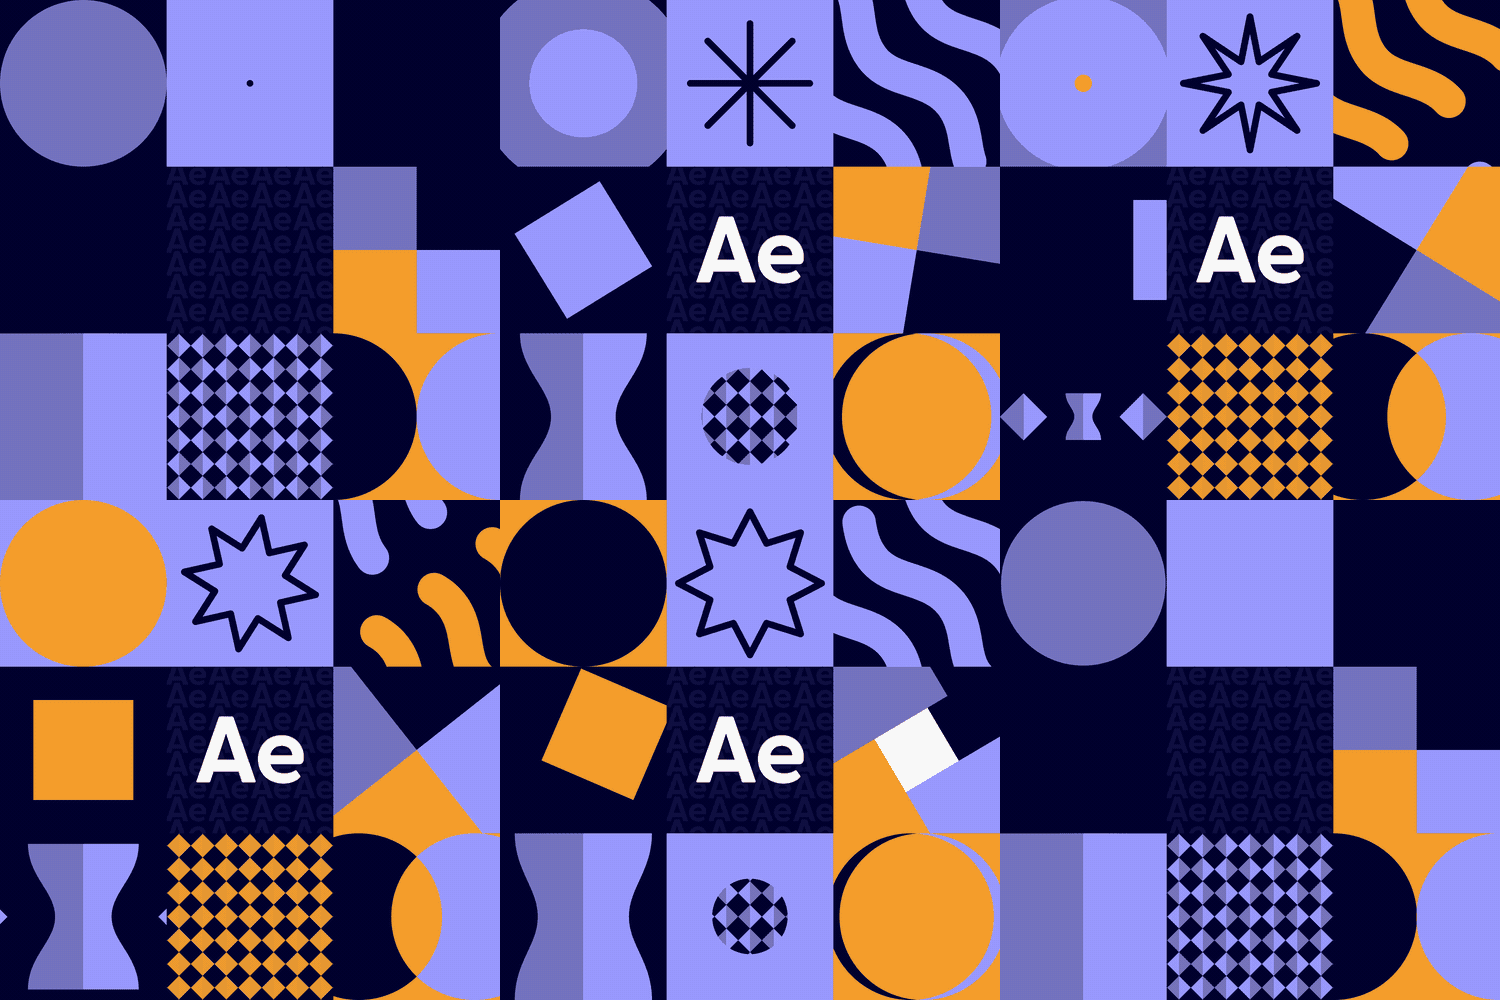
Arrange the animation block compositions into a grid.
Since we made 10 animation blocks, you could skip one to make a 3x3 grid, or create a few more of your own to make a larger grid. If you make a larger grid, you can adjust the size of the AE Fundamentals Exercise comp by going to Composition > Composition Settings (⌘/Ctrl K).
💡
Tips:
The Align panel can be helpful for arranging layers in a grid. If you don't see it, find it under the Window menu.
Block 8 (the one made from Illustrator artwork) is bigger than the rest. If you toggle this comp open in the timeline, you can adjust its scale property.
👀 Render a Video
✍️ Render AE Fundamentals Exercise
I'd recommend rendering as a .mp4 file and saving it in the same folder as the project files for this exercise.
If you post your work on Instagram, tag me @animationexplained so I can see it!
👀 Render a GIF
✍️ Render AE Fundamentals Exercise
Feel free to try any or all of the different methods for exporting GIFs to get a sense of how they differ. GIFs are great for continuously looping animations on websites (like all the examples on this page).


