In this Adobe Illustrator Essentials lesson, you'll learn how to combine basic shapes to build more complex shapes. This method of illustrating is why you don't need to be good at drawing in order to create high-quality, complex illustrations! You’ll learn how to use the Shape Builder Tool and the Pathfinder Panel to unite, cut out, intersect, exclude shapes and more.

Download the free Illustrator Essentials Workbook to follow along with each lesson.
You'll also get a cheat sheet of keyboard shortcuts so you can work efficiently from the get-go. Plus, you'll get monthly updates and tips for learning motion design.
Jump to topic on this page:
Find in video:
0:14
0:57
1:34
3:05
Shape Builder Tool
Keyboard Shortcut: Shift M
To combine or merge shapes using the Shape Builder Tool, first select the shapes (with the Selection Tool). Then with the Shape Builder Tool, click and drag across the shapes you want to add.

To subtract or cut out shapes using the Shape Builder Tool, make sure the shapes are selected (using the Selection Tool). Then, with the Shape Builder Tool, hold option (Mac) or Alt (Windows), and click and drag across the shapes you want to subtract.

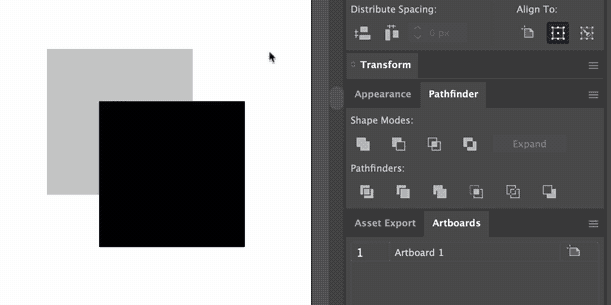
Pathfinder Panel: Shape Modes
If you don't see the Pathfinder panel, find it under the Window menu. The Pathfinder panel allows you to combine shapes in different ways. With the shapes selected (using the Selection Tool), click the pathfinder buttons to:
Unite
Combines (merges) multiple shapes to form one shape.

Minus Front
Subtracts (cuts out) the top shape from the bottom shape.

Intersect
Leaves only the parts of the shapes that overlap and deletes any parts that aren't overlapping.

Exclude
Deletes any parts of the shapes that overlap and keeps all parts of the shapes that aren't overlapping.

Non-Destructive Workflow
Normally, when you use the Pathfinder panel options to combine shapes, it creates a new shape and the previous shapes disappear. But there's a way to keep the existing shapes so that you can edit them to adjust the new shape.
To work in this non-destructive way, when clicking the pathfinder options to combine shapes, press the option (Mac) or Alt (Windows) key.
This will combine shapes just like described above, but it makes them a compound shape. This means that if you double click on the shape, the original shapes are still accessible, so you can adjust them to affect the newly created shape.
Click the Expand button in the Pathfinder panel to convert the editable combined shape (Compound Path) into a single shape (just like what would be created if you used a Shape Mode without pressing option/Alt).
Pathfinder Panel: Pathfinders
The bottom row of the pathfinder panel has more options for combining shapes:
Divide
Splits the shapes everywhere they're overlapping to create separate shapes.

Trim
Cuts the front shape from the back shape. Trim differs from Minus Front because it leaves the part of the back shape that was not overlapping the front shape.

Merge
Combines shapes that are the same color and cuts the front shape/s out from the back shape.

Crop
Uses the front shape to crop the back shape (keeps the part where they overlap). The remainder of the front shape will be grouped with the cropped shape, but as a shape with no fill or stroke.

Outline
Outlines the shapes and divides them (separates the shapes everywhere they overlap).

Minus Back
Subtracts (cuts out) the back shape from the front shape.